

Deploying Flutter Apps to Firebase App Distribution using CodeMagic


As my first blog post and many more to come sooner or later, I would like to introduce myself. I am a Software Engineer practicing web development and data science. As a graduate student, I have worked on a wide variety of projects covering a diverse technical stack. For students and even professionals, in my future blog posts, I will try to encompass the problems I faced in a particular project and how I attempted to resolve them. With that being said, let’s dive into the topic.
In this article, I will talk about how I approached the deployment of a Flutter application that I built as a part of my academic project. Let me first introduce the project and the tools involved in the deployment process.
Project Description:
PeekList is a combination of your daily task application with social media features. Our main driver for this project is to enable users to share their daily tasks among their friends and also use the app as a regular task tracking application. You can grab a sneak peek into our flutter app below.
Deployment Tools:
CodeMagic: It is a continuous integration and delivery tool for Flutter and mobile applications and offers some very good features such as automatic android code signing, iOS code signing, build triggers, and email updates about build status.
Firebase App Distribution: It is a part of the Google Firebase Software Development Toolkit and allows you to distribute your apps to trusted testers for usability testing providing user-specific performance reports, crash reports, and analysis.
Setting up CodeMagic for your Flutter Project:
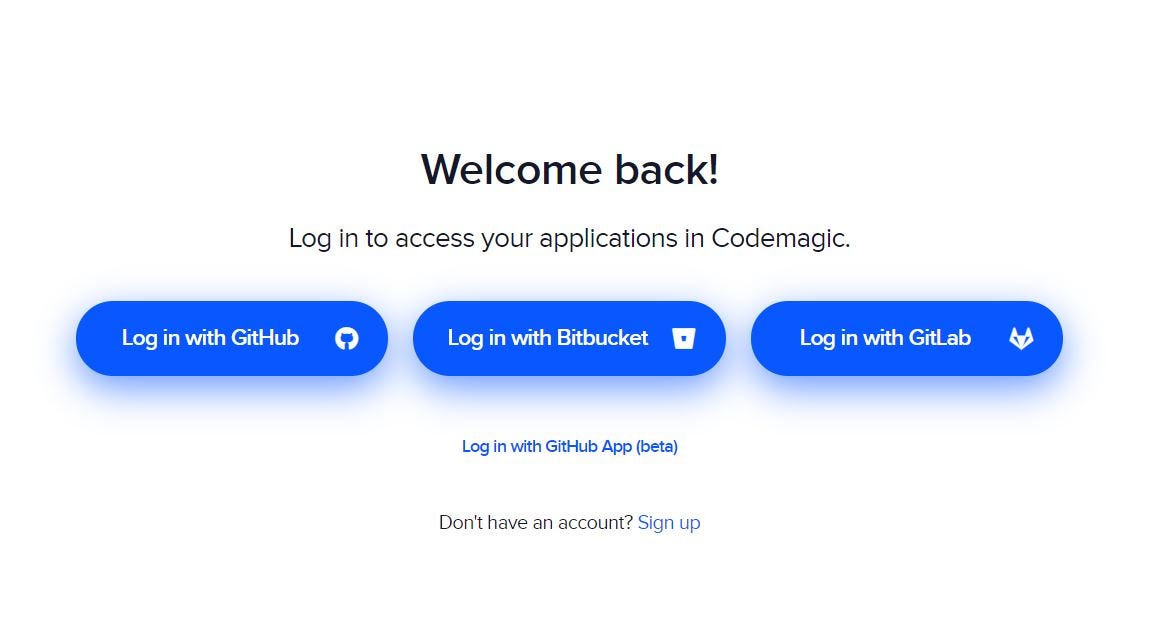
Visit codemagic.io and Sign Up or Login using your Github, Bitbucket, or GitLab account. CodeMagic offers a very convenient way just like other CI/CD tools out there to link your source control repositories directly.
Having logged into CodeMagic using your preferred source control credentials, you will see your repositories in the application’s dashboard.
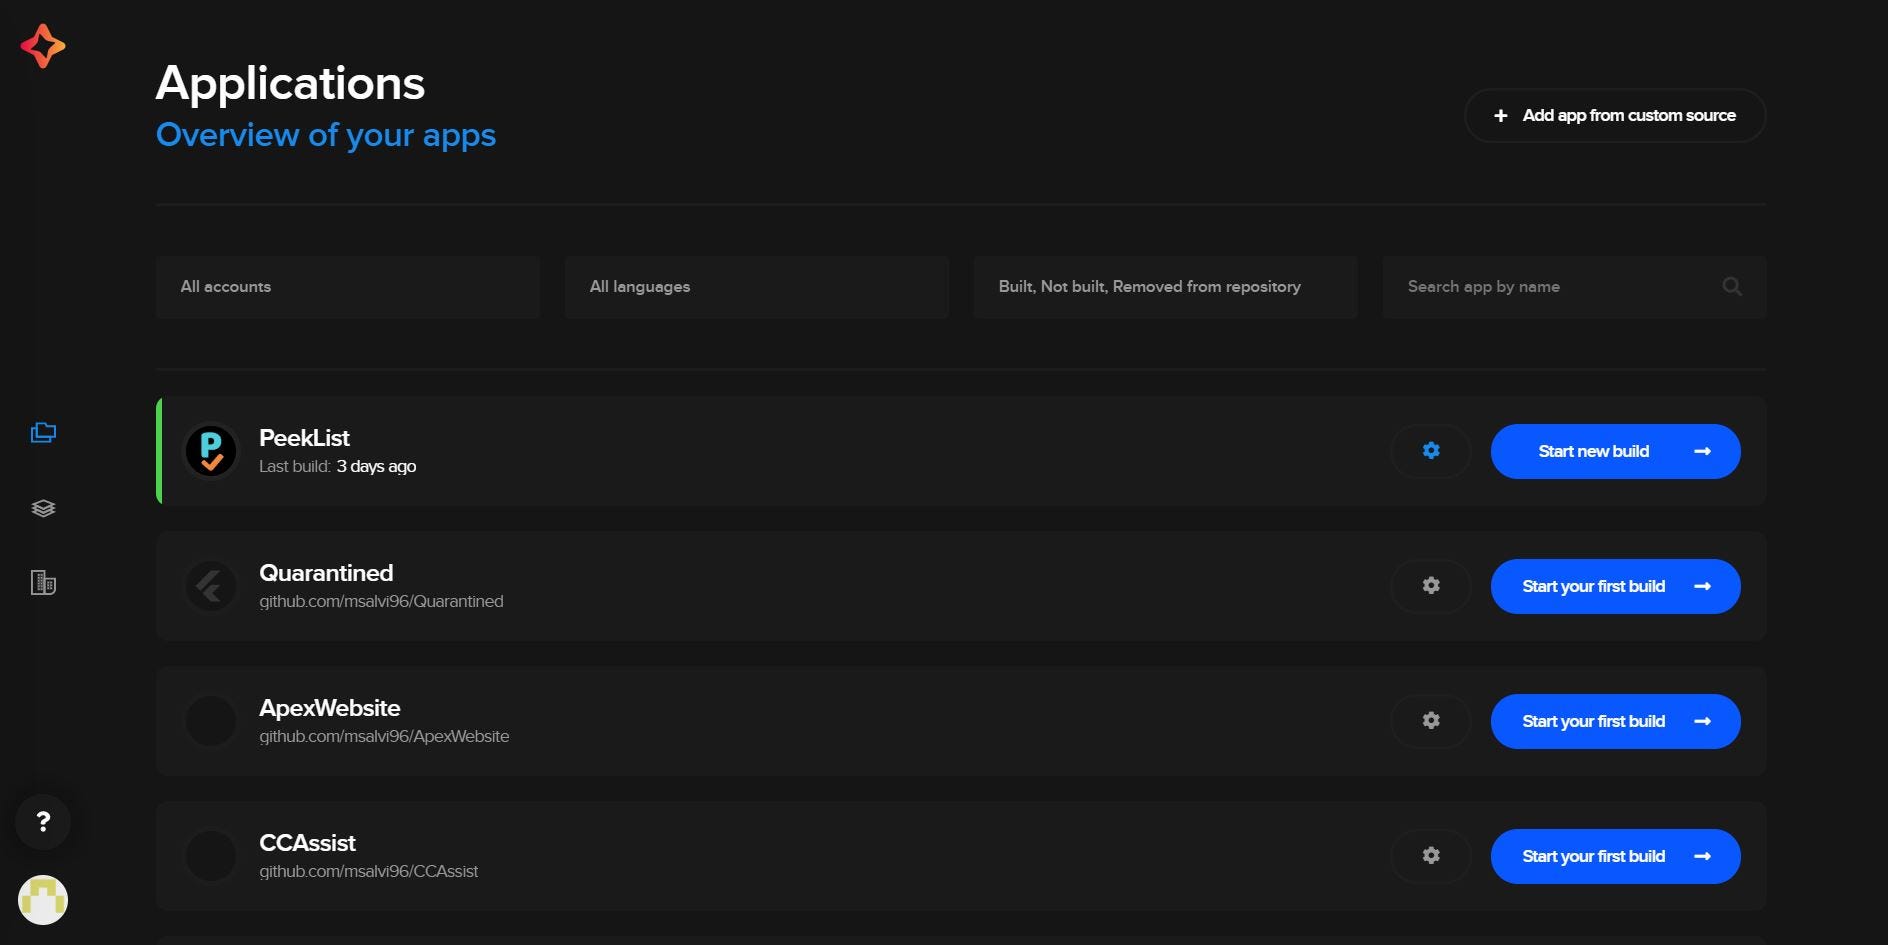
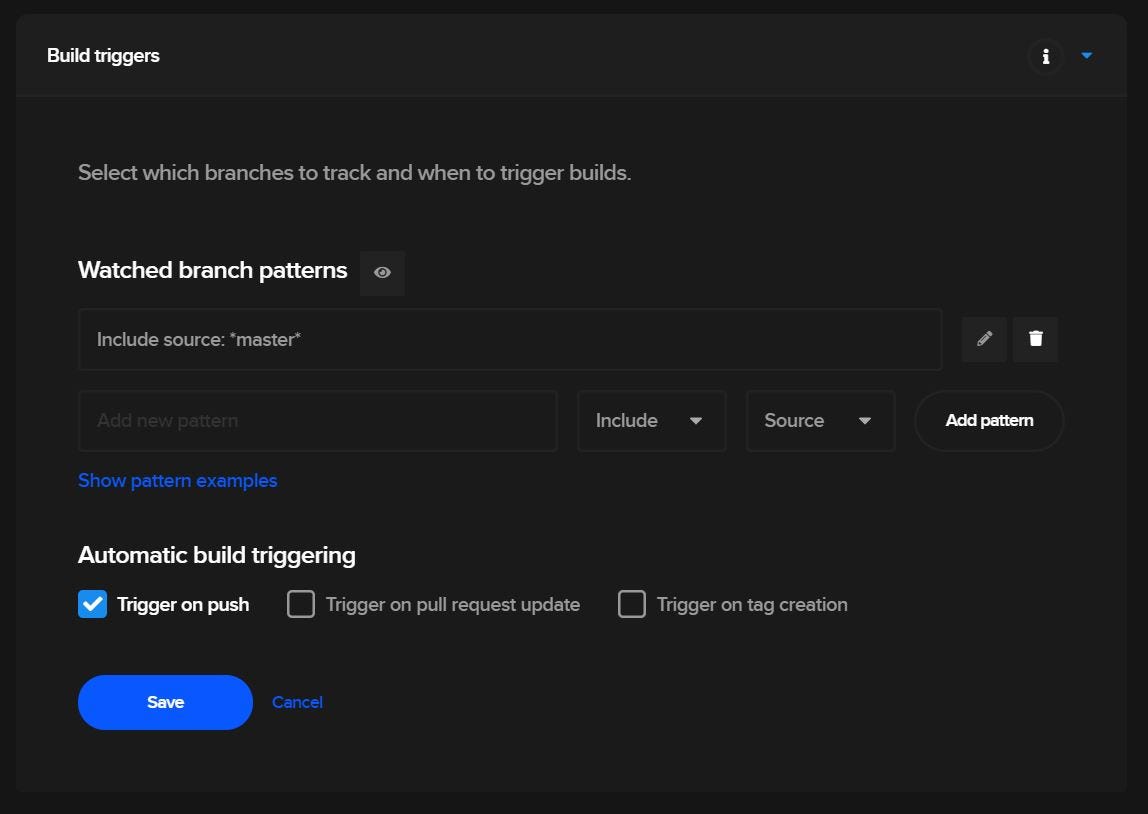
Click on the settings icon to configure continuous integration and continuous build options for your application. For a single project, you can define a continuous integration and continuous build workflow using build triggers for your Git repository.
You can also add environment variables and enable dependency caching as per the requirements of your CI/CD process. You can configure the test subsection to run the Flutter unit tests and widget tests on every build that is triggered.

Also, configure the build section of the workflow to build your Flutter app for Android and iOS. This is one advantage that I found while using CodeMagic as a CI/CD tool. Even though I don’t own a Mac Operating System, I am still able to build flutter apps for iOS using CodeMagic. And this is also the reason why I did not opt for Fastlane as a CI/CD tool for Flutter apps. Since Fastlane is dependent on a Mac Operating System, none of the members in our team own a Mac to build our app for iOS. So to bypass this shortcoming, I decided to use CodeMagic.
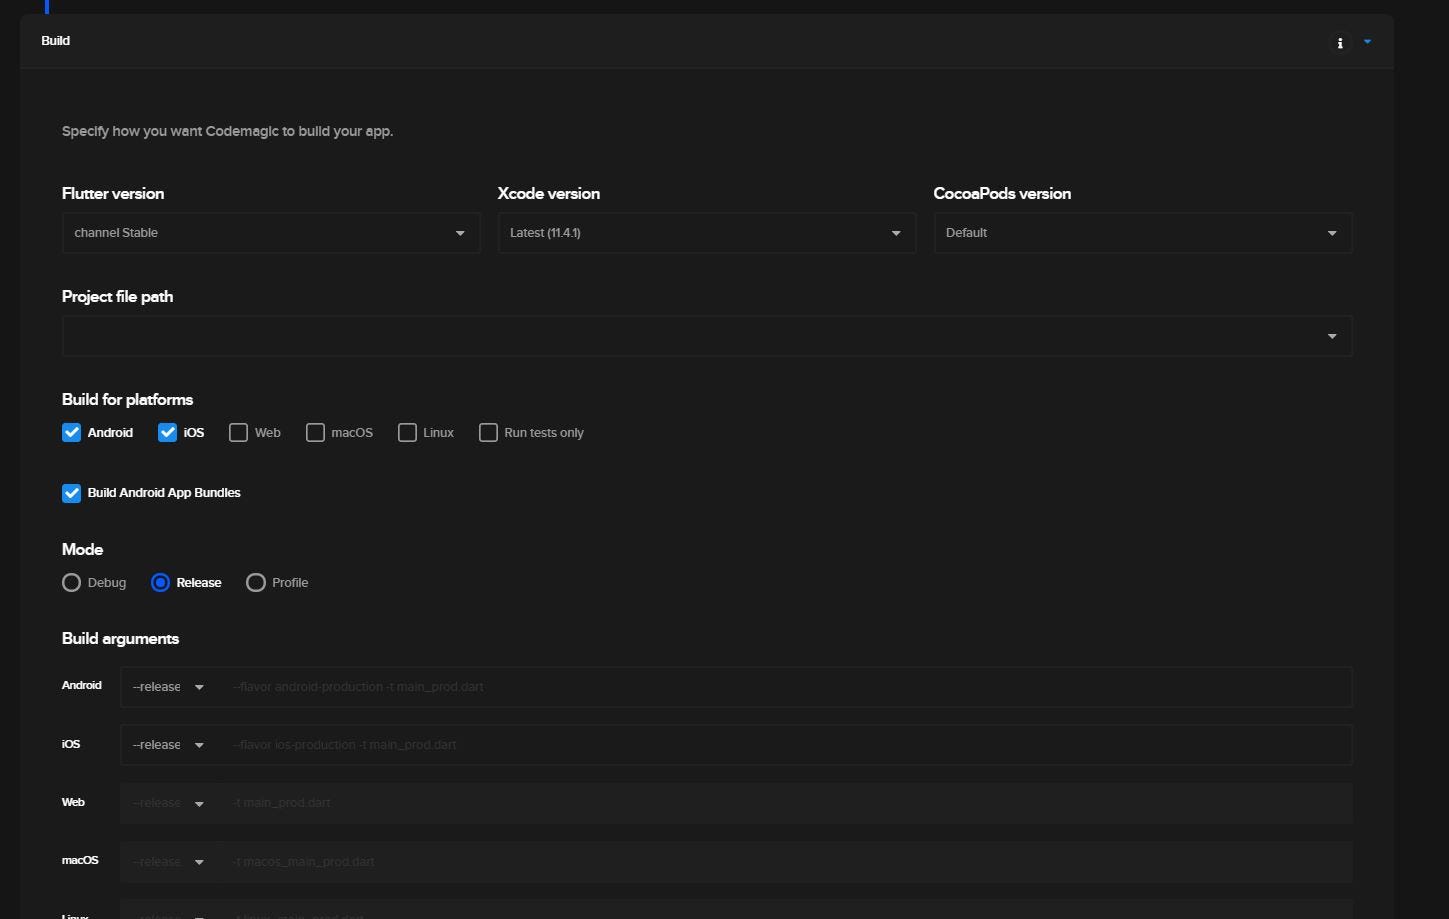
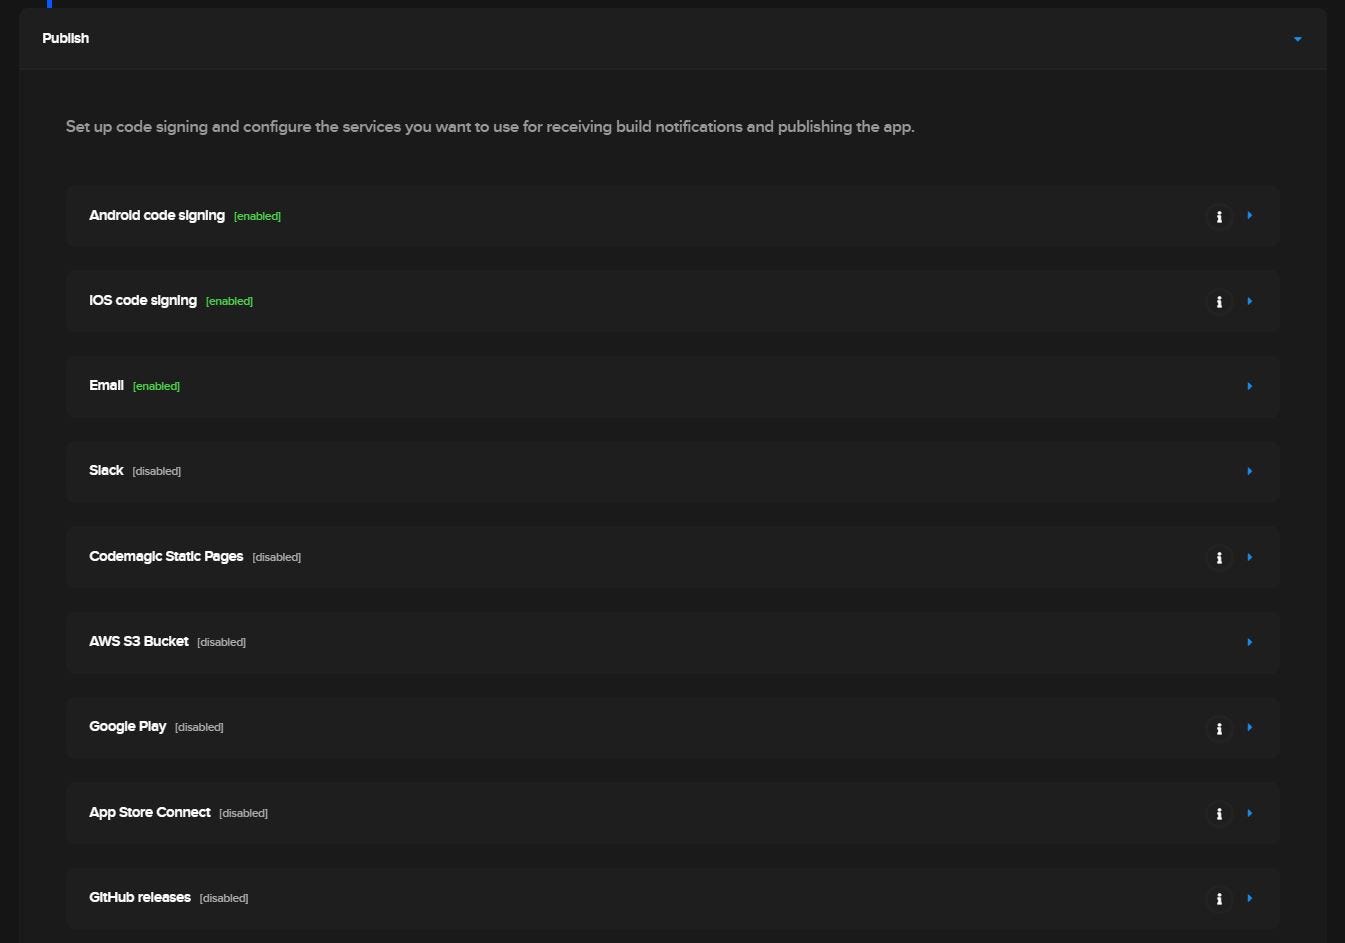
In the publish section of the workflow for your process, you can configure deployment options for your app.
For Android:
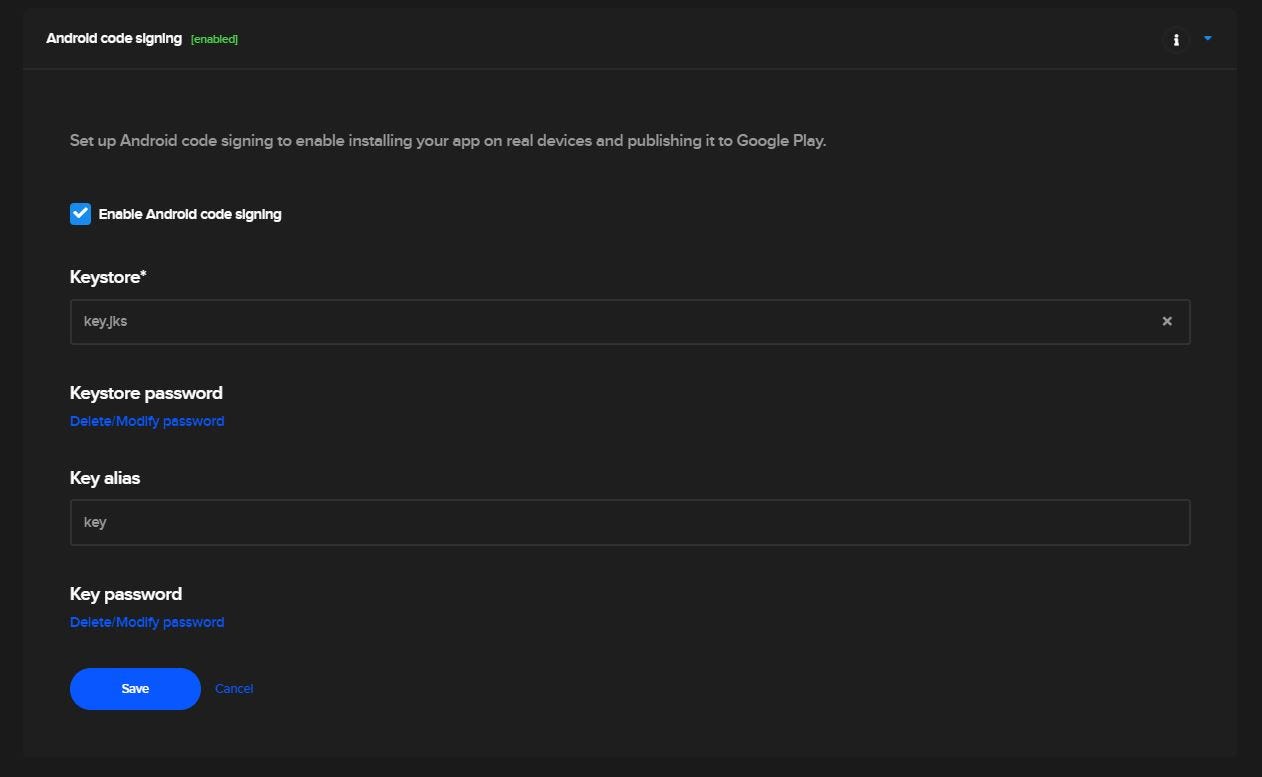
To generate a signed APK file for Android devices, you need to sign your code using a Keystore. On Windows, you can generate a Keystore by entering the following command in the command prompt:
> keytool -genkey -v -keystore c:/Users/USER_NAME/key.jks -storetype JKS -keyalg RSA -keysize 2048 -validity 10000 -alias key
Upon entering the above command, you will be navigated to enter some basic questions to create a valid Keystore. On successfully creating the Keystore, navigate to the Android Code Signing tab in the Build section of your process workflow. Upload the Keystore file key.jks that you just created, enter the password for the Keystore and alias key.
For iOS:
To build and release to iOS devices, you do need to be enrolled in the Apple Developer Program. If you are enrolled in the program, CodeMagic makes iOS builds very easy for you by linking your CodeMagic account to your Apple Developer Account. You can navigate to User Settings and under Integrations, link your Apple Developer Account. Once you have your apple Developer Account linked up with CodeMagic, navigate back to your process workflow for your Flutter app, and select the iOS code signing tab.

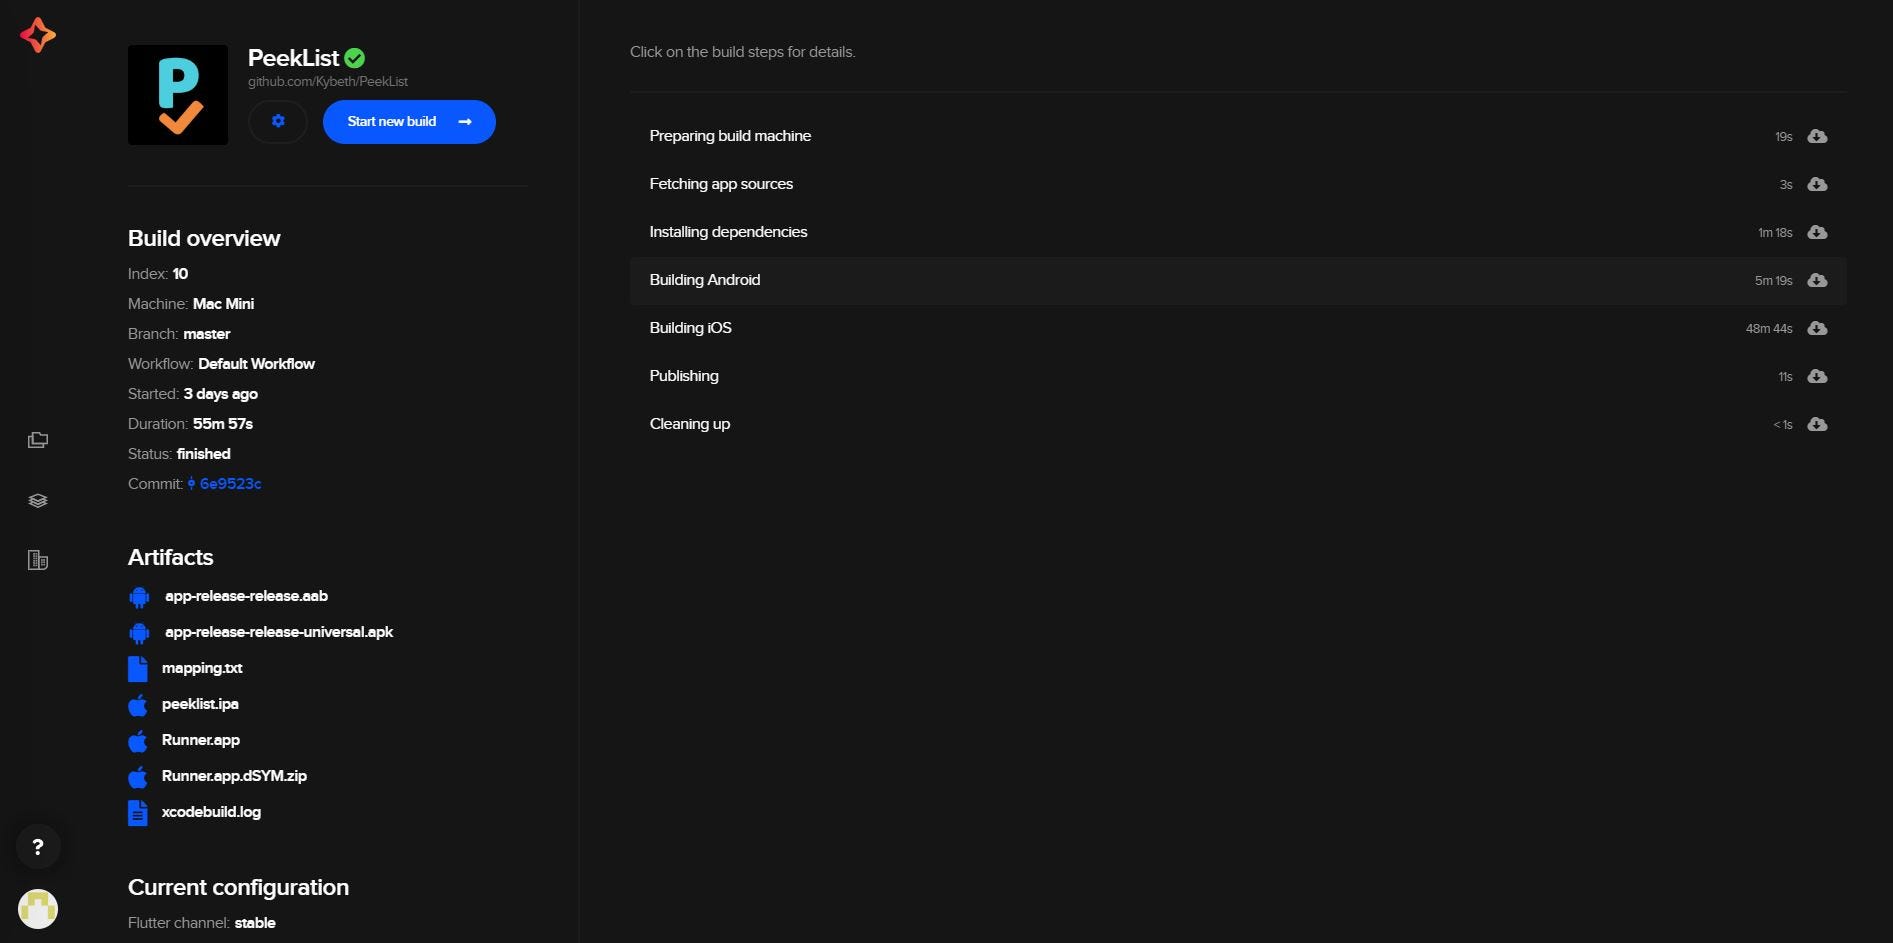
Once you have configured your publishing options, you can start your first build for your Flutter project. CodeMagic offers you Mac Pro Builds and regular builds. Mac Pro Builds are faster and take less time for execution as compared to regular builds but you are only limited to 3 Mac Pro Builds per month as per CodeMagic’s free trial plan.
On the successful build of your flutter application, you will see the output files of the build in the Artifacts section. The main files to be considered are the APK file for Android and IPA file for iOS.
Distributing your app to Android and iOS using Firebase App Distribution:
Firebase App distribution allows you to release beta versions of your application to verified and trusted test users for usability testing and providing user-specific analysis, crash reports, and performance reports.
Prerequisites: You do have to follow the conventional steps to add an Android or iOS app to your Firebase project.
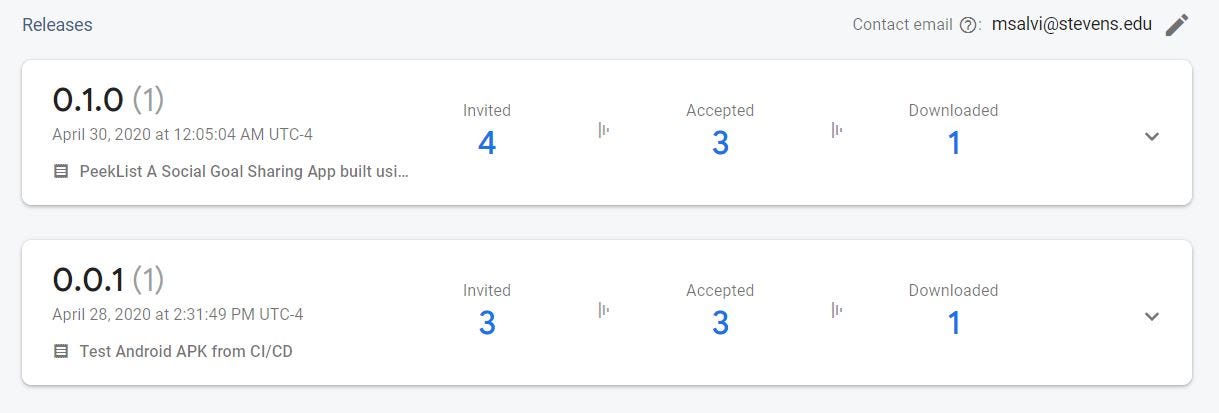
Navigate to your Firebase Console and into your Firebase project setup with your flutter application. Click on the App Distribution tab and once you get started, you will see a releases dashboard containing the following dialog.

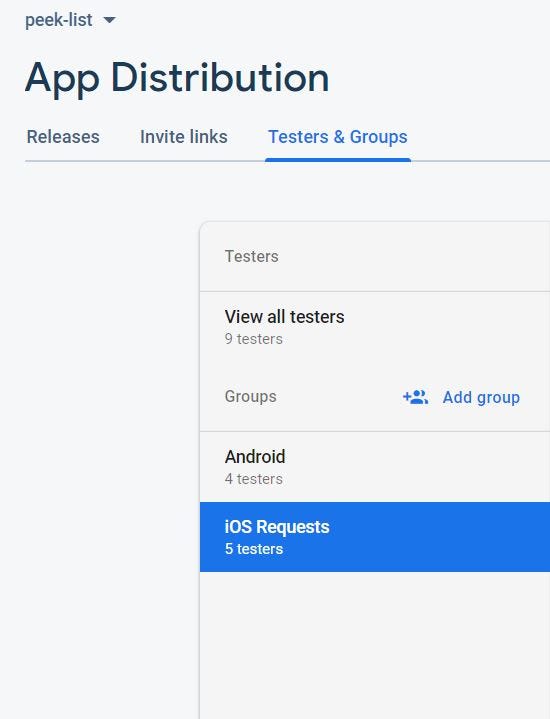
For iOS, the dialog will ask for an IPA file. In the Testers and Groups section, you can add and create groups of trusted testers to who you would like to distribute your app. Firebase will provide you with crash-reports and performance reports based on how your app works on these user’s devices.
Once you have added your testers you can create new releases for Android and iOS by uploading the APK file and IPA file generated by CodeMagic respectively. Once you create a new release and distribute it to test users, your test users will receive an email to install the Firebase App Tester application on their phone for them to be able to download the latest releases of your app.
Note for iOS Releases: Make sure you invite your iOS test users first to install the firebase tester app on their iOS device using the Invite Link option in Firebase App Distribution and then build the corresponding IPA file using CodeMagic. For iOS you need to add the device UID to your Apple Profile Provisioning Certificate while code signing. So when a test user first installs the Firebase App tester, you get the test user’s iOS device’s UID which you can add to the provisioning profile. Once you add the device UIDs to the provisioning profile, you can build the IPA file using CodeMagic and deploy it to the corresponding testers using Firebase App Distribution.
Conclusion:
Deploying your application to a small subset of trusted users, gradually increasing your user payload is what helps to remove bugs, fix issues, and reflect on feedback from test users before you release your app to the iOS or Android App Store.
On the other hand, I would also like to reflect that working as a core developer for PeekList has been great and I am proud of my team for their continuing effort in implementing and executing an idea to proof of concept.
Thank you and I will see you in the next post!